Step one: permission in writing
Find the owner through land registry searches, council planning records, agents' signboards or heritage bodies. Write a short, specific request: who you are, why you want to record the site, the dates and times you propose, how many people will attend, what equipment you will bring, and how you will use the images. Offer to share copies. Many owners refuse, and that answer must be respected. Some agree with conditions, such as an escort, a signed waiver or excluded areas. Keep the reply with your notes.
Permission from a neighbour, a caretaker without authority or a previous visitor is not permission. Nor is an open door or a missing fence panel.
Step two: risk assessment
Ask the owner about known hazards and any surveys. Plan for asbestos, unstable floors, voids, confined spaces, contaminated water, bird droppings, sharp debris and poor air. Bring a hard hat, sturdy boots, gloves, a dust mask rated for the hazard, a first-aid kit and a charged phone. Work with at least one companion and leave your plan with someone who will raise the alarm if you do not check in.
Step three: recording technique
- Context first. Photograph the building in its setting from public or approved viewpoints, then each elevation, then interiors room by room.
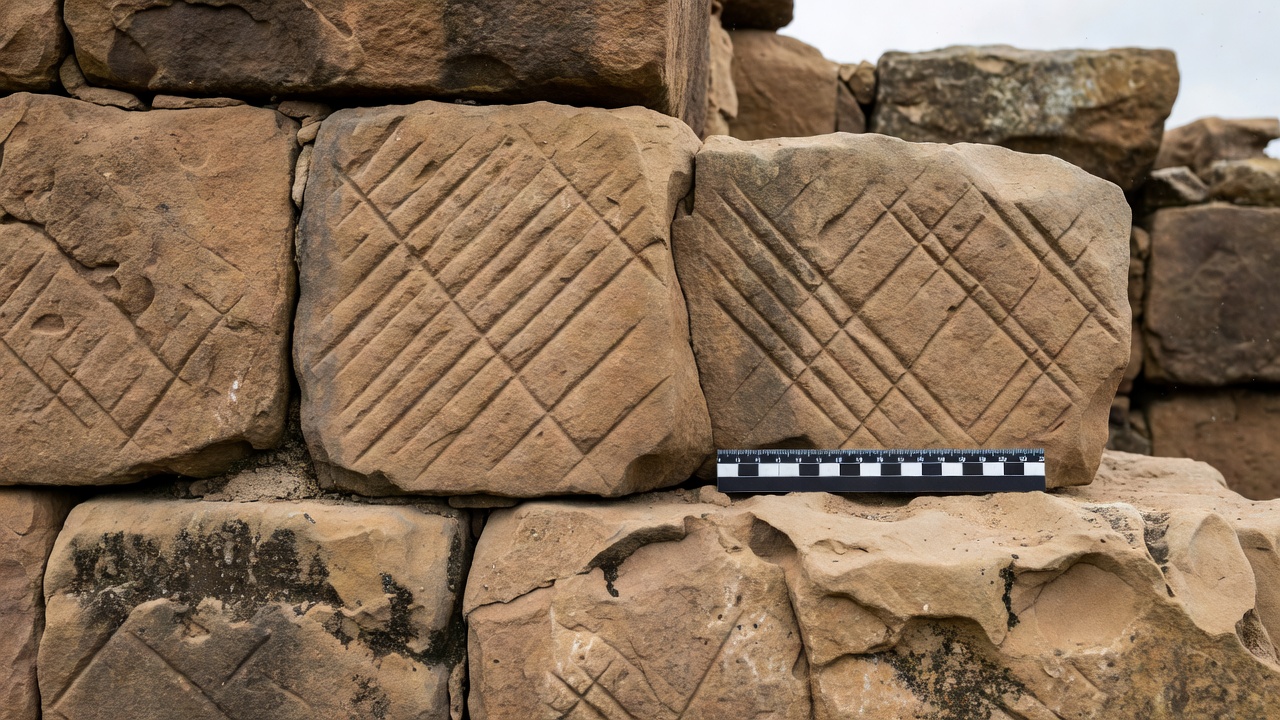
- Details second. Use shallow depth of field for lettering, fittings and marks, with a scale bar in a reference frame.
- Consistent light. Use a tripod and longer exposures rather than flash where possible; flash flattens texture and can disturb roosting bats, which are legally protected in many countries.
- Colour reference. A small grey card or colour chart helps later viewers judge paint colours accurately.
- Location plan. Sketch or annotate a plan showing where each photograph was taken.
Historic England's guide Understanding Historic Buildings: A Guide to Good Recording Practice (2016) describes graded levels of recording, from a basic photographic survey to a full analytical record. The Historic American Buildings Survey, founded in 1933, offers similar guidelines in the United States. Both are worth reading even for personal projects.
Step four: metadata and notes
Record date, time, photographer, the permission held, and the subject of each frame. Use clear file names, for example 2026-03-14_mill-north-elevation_001.jpg, and keep a separate text log. Write observations and interpretations in separate columns so that later readers can tell evidence from inference.
Step five: sharing responsibly
Publishing images helps people value a place, but it can also attract theft, vandalism and unsafe visits. For vulnerable sites, describe the history and the town or region, not the coordinates, gates or gaps you used. Never publish images that show security weaknesses. Credit owners who allowed access, and send them copies.
Avoid sensational captions. "Haunted asylum" sells a myth; "former county mental hospital, opened 1903, closed 1995" opens a history that real patients and staff lived.
Step six: depositing the record
Well-captioned photographs can have lasting value. Local record offices, county Historic Environment Records, university collections and local history societies may accept deposits. Ask about formats and rights before sending files. A modest, accurate archive outlasts a viral image.
Take nothing. Removing a sign, tile or document, even from a site due for demolition, can be theft and erases evidence. If you believe something important is at risk, contact the owner or a heritage body.